
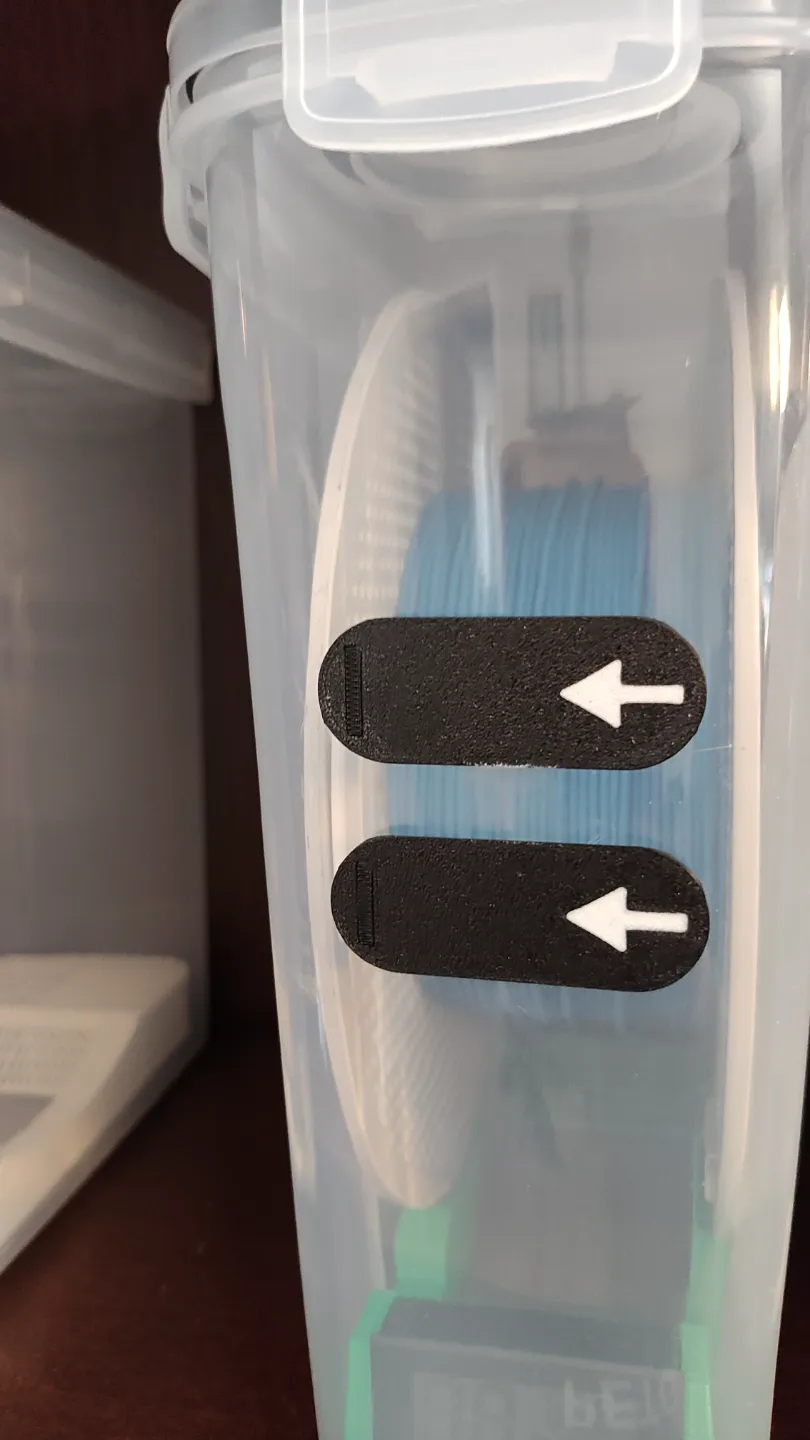
Now that we have a great solution for keeping our filament organized and dry what do we do for filament that has absorbed some moisture somehow?
It has possibly been sitting around for a while and even a dry box that hasn’t had its desiccant drop down or maybe even a roll that came from the manufacturer damp. You may find the role you’ve had for a while just isn’t printing as well as it used to. Might be time to dry it. Each manufacturer has different recommended temperatures for drying their filament types. Be sure to check for your filament to avoid possibly ruining it.
I have tried a variety of methods to dry filament as I came to my current solution that seems to be working well.
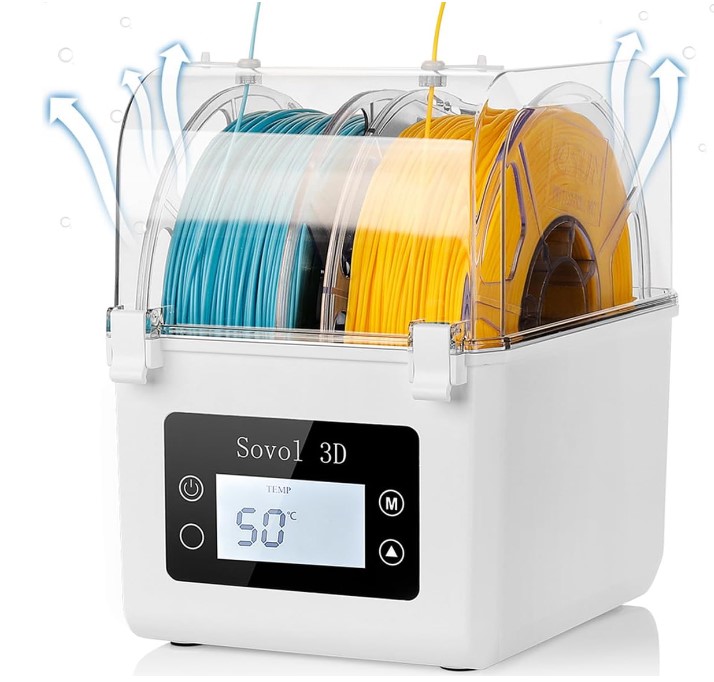
- Buy a cheap filament dryer.
- Put it on your printer heat bed covered to trap the heat.
- Put it in the oven.
- Modify a food dehydrator.
Let’s walk through the options and I will share my experience:
Most of the low-end dry boxes are rated for up to 50°C and mine struggles to get within 8° of that. This is fine for PLA based on most guides but too low for almost any other material. I still use it for printing materials like TPU Which can absorb moisture in the time it takes to complete a large print.
Conventional Oven
This is popular option. It works well as long as your oven has a low enough temperature setting to not damage low temp filaments. Ovens also tend to heat above their target temperature and then cool to just below the target temperature. This is fine as long as it doesn’t go high enough to damage the filament. My hesitations with this approach are 1) I haven’t measured it but worry about power draw leaving the oven on even a low temperature for 8-12 hours and 2) the side eye my significant other gives me when I’m cooking plastic in the place we prepare our food
Heated Print Bed
I’ve only tried this couple of times. Let’s start by heating the print bed up to the desired temperature for drying the filament, placing the filament on the bed and then covering it with the filament box with a few vent holes poked in it. This works best in an enclosed printer to help keep the heat in.
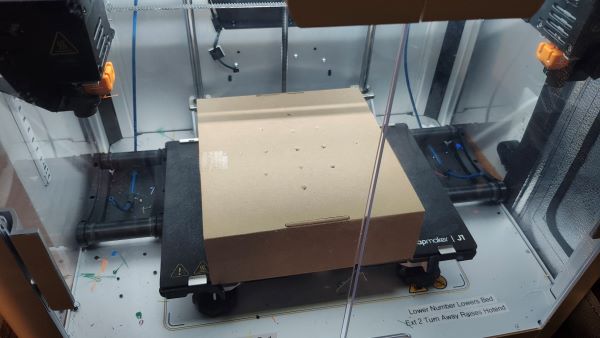
At the time I initially tried this I didn’t have a good way to measure the temperature inside the box drying the filament. I also didn’t like tying up the printer for 8-12 hours for the drying.
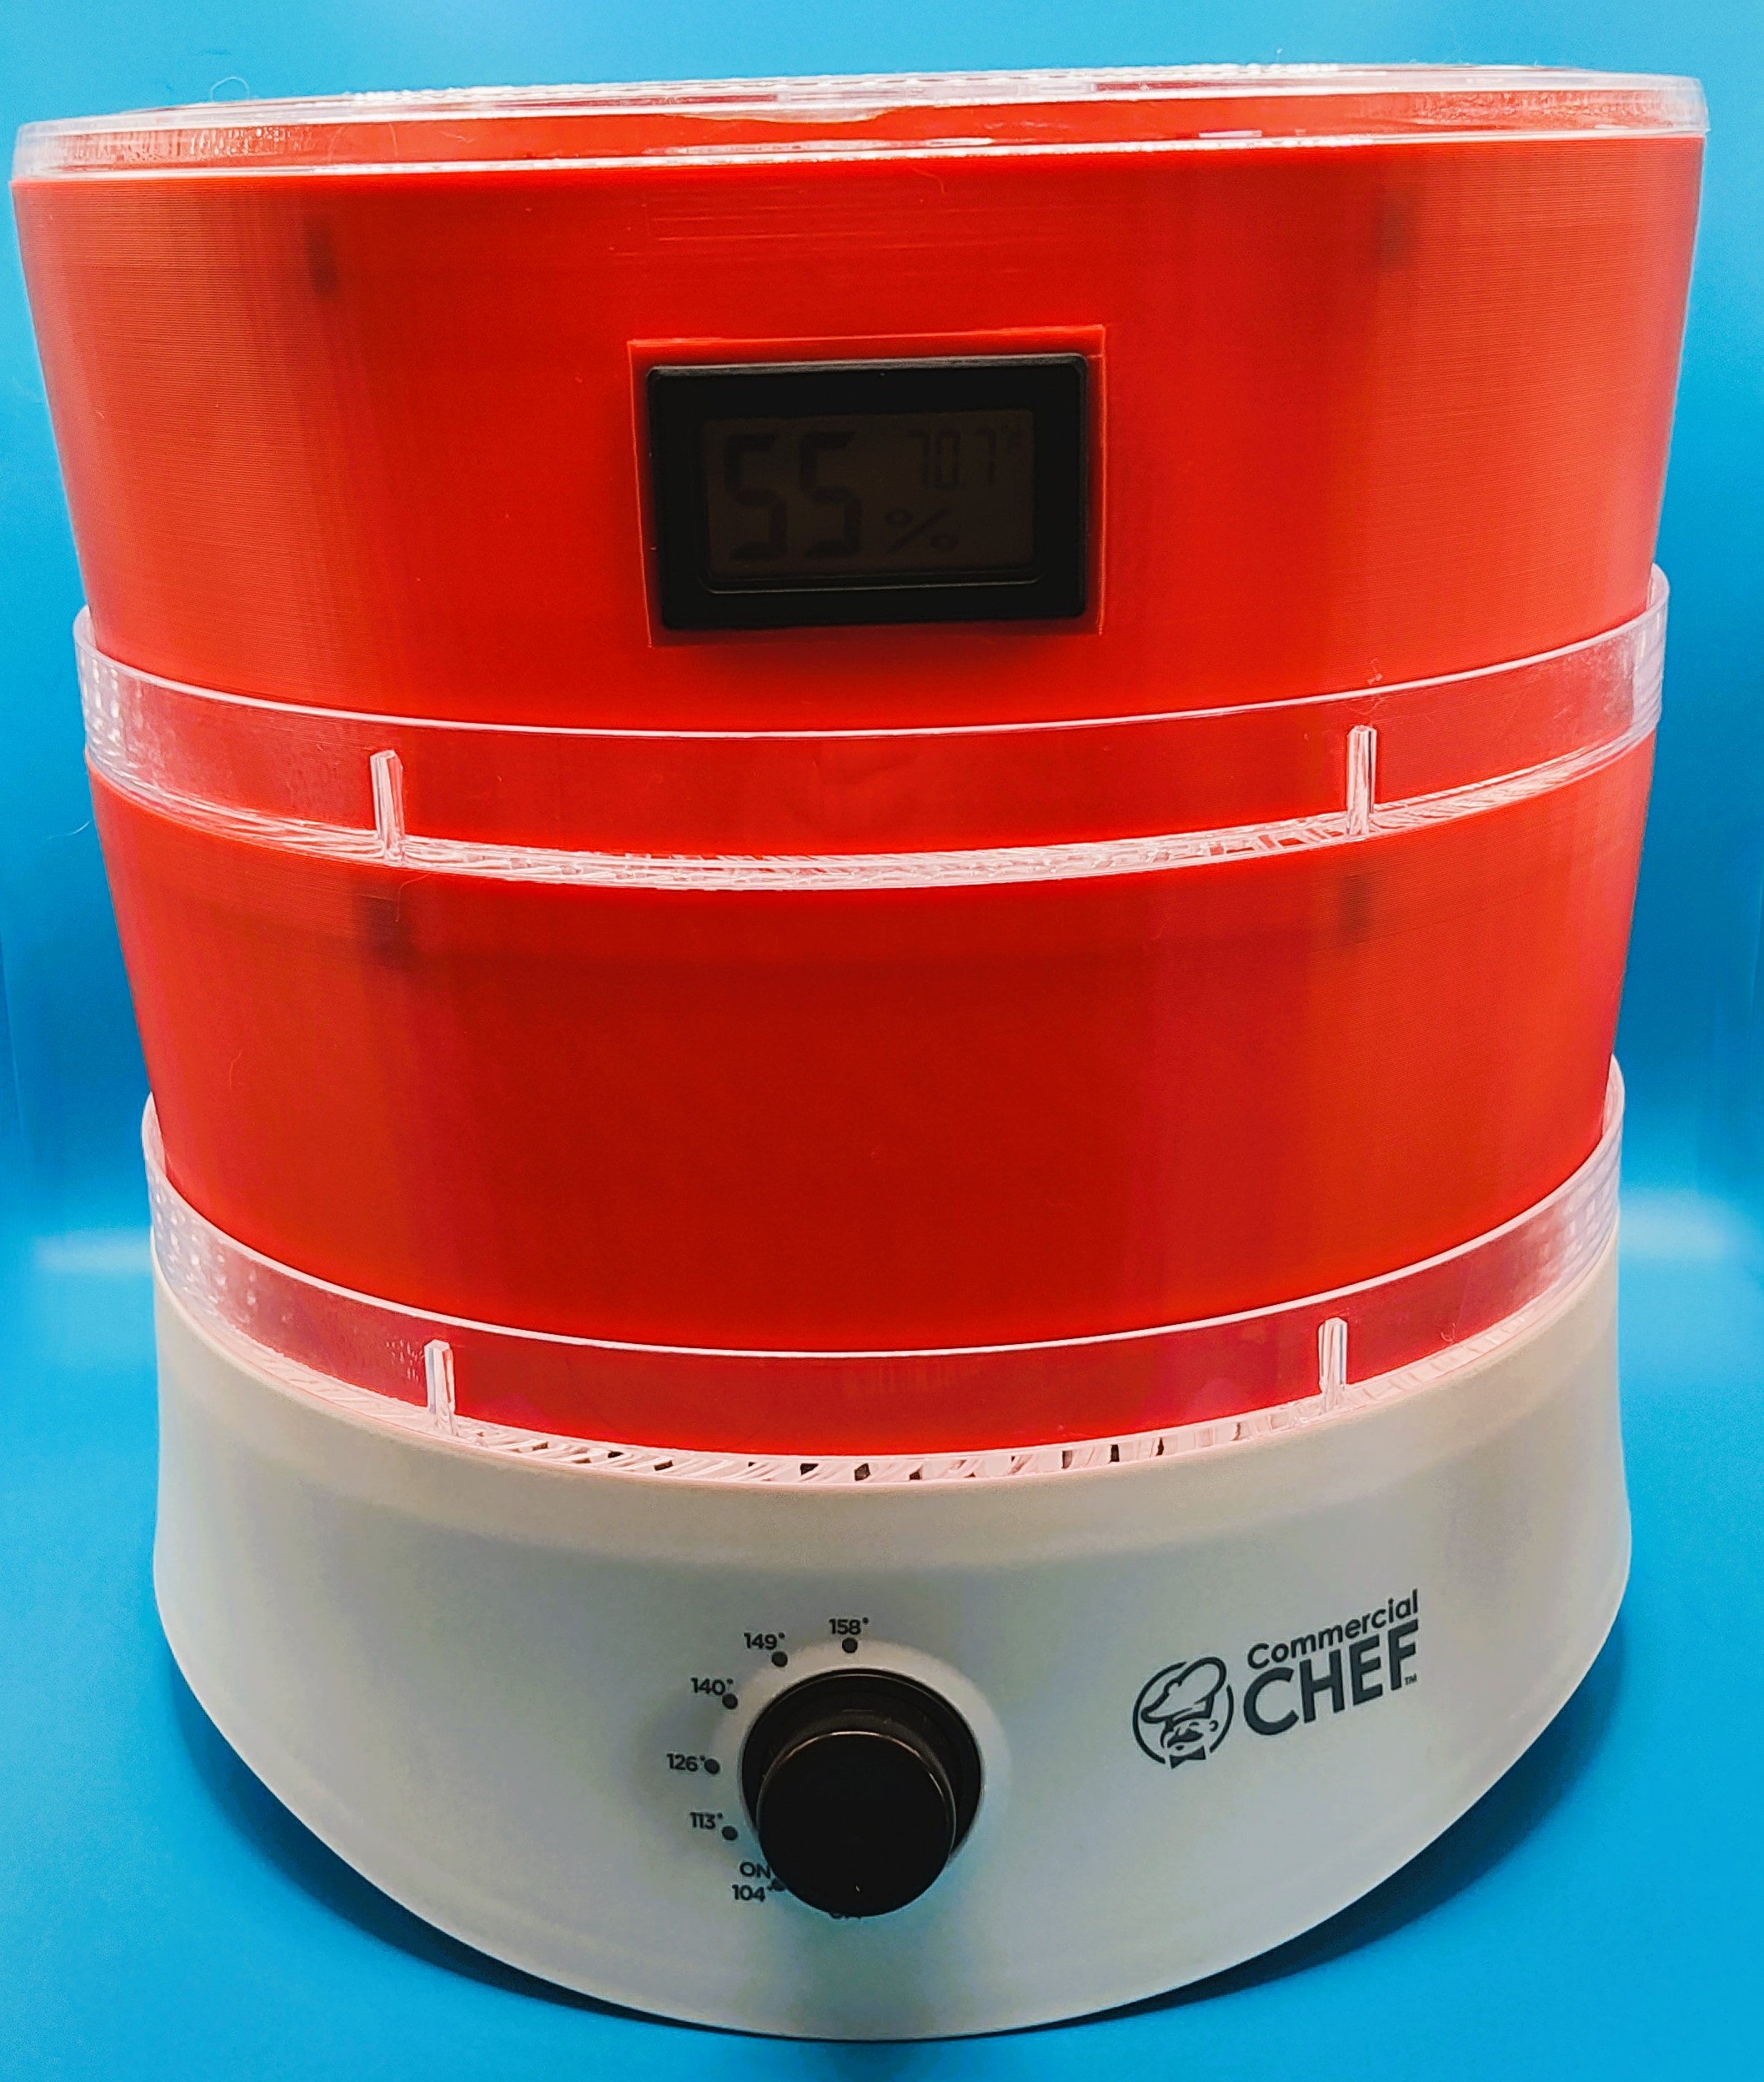
Food Dehydrator
This is my current preferred approach. I purchased a popular inexpensive food hydrator that is rated for 70° C. From there I printed 2 risers to create the clearance for the filament spool. Similar to the cheap filament dryer it falls several degrees short of it’s rated temperature, but it appears if I leave it in an hour or 2 longer it will reach the same level of dryness.
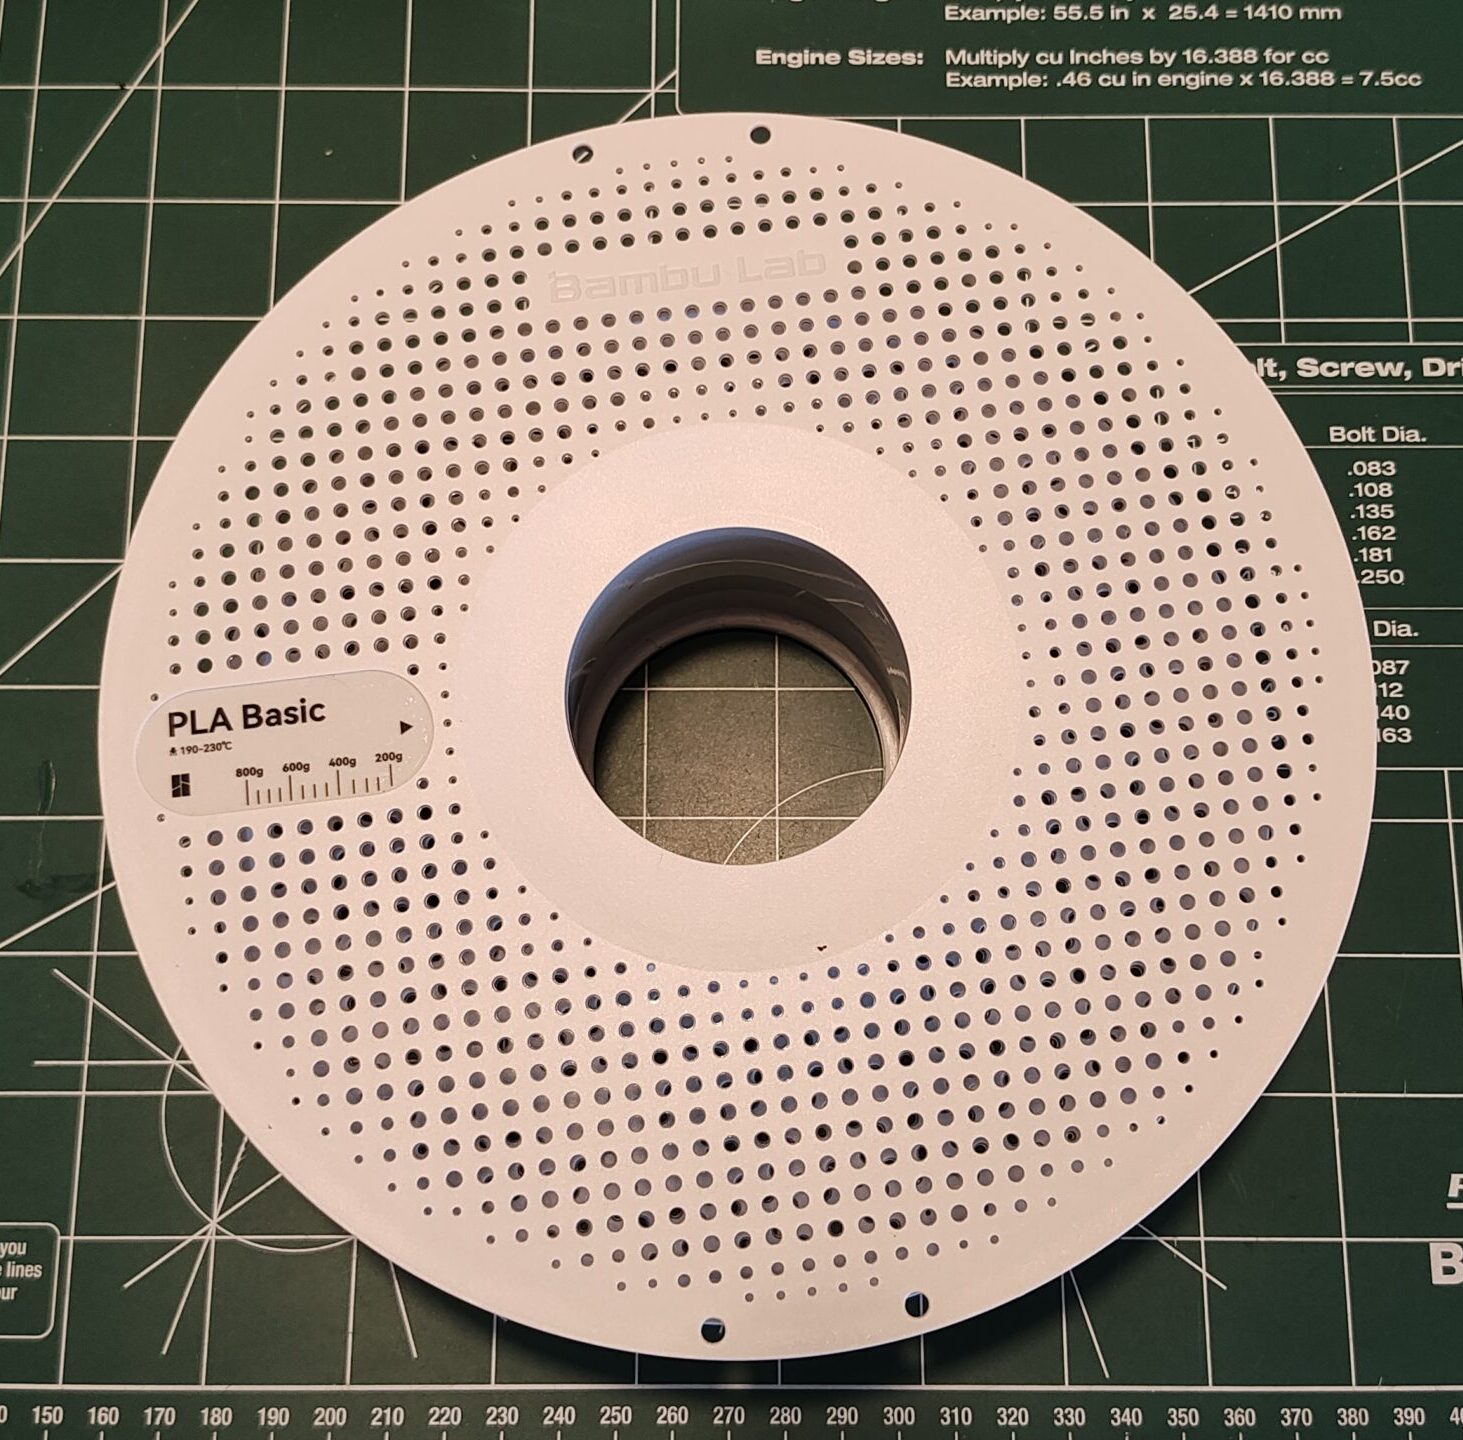
In several tests before drying the filament my dry box (link) reported 30 to 35% humidity. After drying the filament and returning it to the dry box it was reporting 10-12% humidity after the hygrometer had time to settle.
Components:
- Amazon: Commercial Chef Food Dehydrator
- 3D Model: Filament Dryer Risers
Warning on Reused Spools
If you reuse spools and buy refills like I do be sure the spool can handle the drying heat required for the filament. For example, the standard spool from Bambu Labs is rated for less than 70°C, they have high temperatures spools for materials like ABS/PA/PC rated to 90°. If you are using the spool that came with the filament you should be fine.


